


Creating Workspot Templates for GCP
Updated 4/17/24
This article is a quick guide for adding a Microsoft Windows template to use with your GCP Workspot deployment. It is part of the Getting Started with Workspot article series. Please follow the correct steps for the Gen1 or Gen2 machines you are going to build.
For a Workspot Template, you will export the VM from a virtualized environment to Cloud Storage which will be converted into a Template from control.
Prepare VHD, VHDX or VMDX file for upload. We recommended to upload a vanilla template to use as a base template and later customer can modify based on their requirements.
Creating Storage Bucket
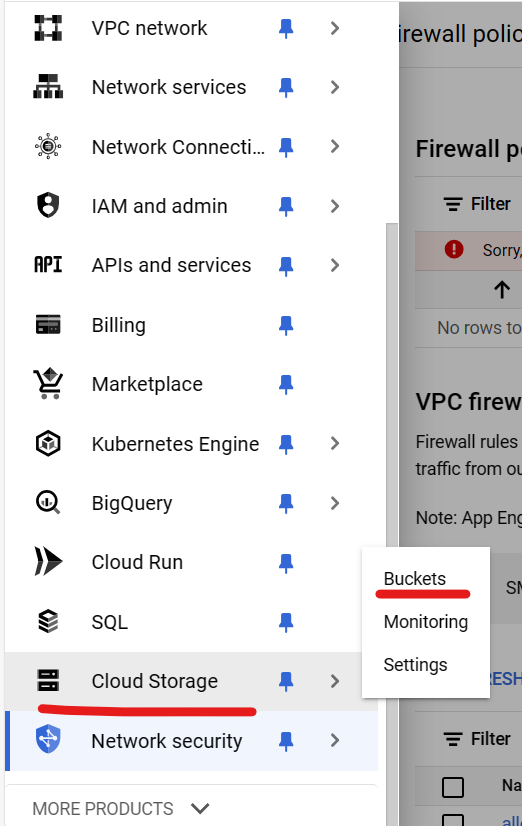
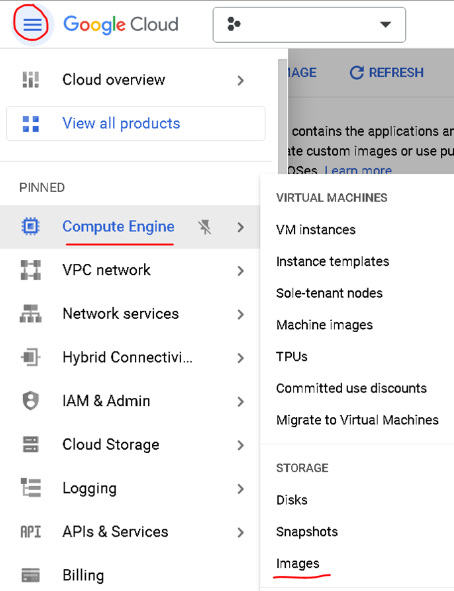
To Create a Storage Bucket, by going to the menu in GCP, then look for Cloud Storage > Buckets:
-
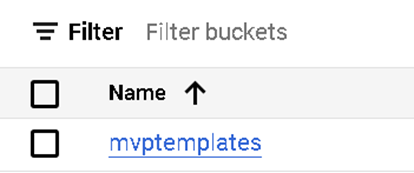
Create bucket [customername] templates.
-
Go in the bucket, and then got to the permissions tab.
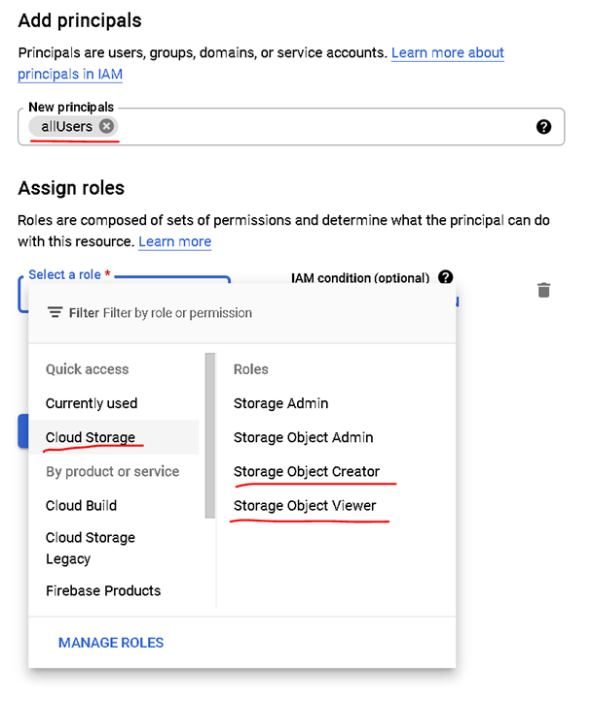
Add a new permission to all users and give them the following permissions by clicking on Grant Access:
-
Assign to New Principals: allUsers
-
Storage Object Creator & \
-
Storage Object Viewer roles
Uploading Image
Upload the VHD image from local machine.
-
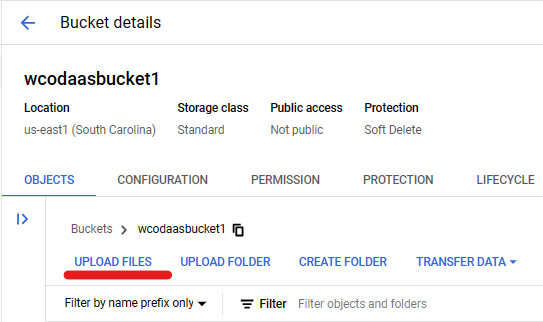
Navigate to Cloud Storage and the Click on the Bucket.
-
In the next screen, Click on Upload Files. A File Explorer window will appear. Choose the VHD file you wanted to upload
-
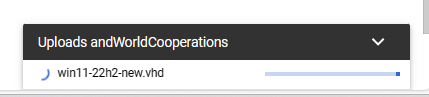
The upload process will start, and the status can be monitored on a tiny window on the bottom-right corner of the page
-
The status will show as complete once the upload is done and you can find the file uploaded in the bucket.
-
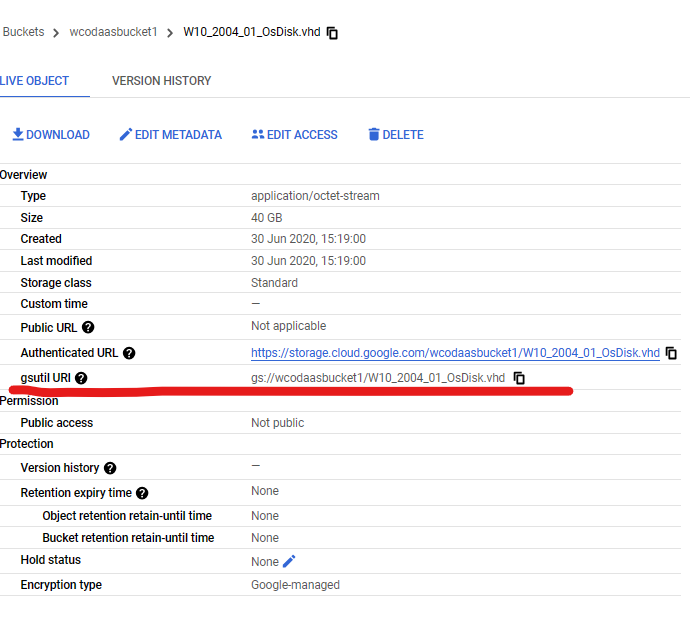
Click on the File Details to copy the gsutil uri for future use.
Convert Customer Image to GCP Supported Image
When the image has been uploaded, to create a template, you need to convert the vhd, vmdx, etc. into a GCP Image. Make sure to follow the Workspot guidelines for uploading in image:
-
Create an image from VHD file above by running following command, replace your details in < > parameters:
gcloud compute images import <Name of the Image> --os=< windows-10-x64-byol> --source-file="<URI or location of the vhd file gs:uri>" --project "<ProjectID>" --network=<VPC Name> --subnet=<Subnet name>
Example:
gcloud compute images import cs-w10t-201009 --os=windows-10-x64-byol --source-file="gs://templatefolder/win10image.vhd" --project "demo" --network=default --subnet=subnet-daas
-
If the disk you are uploading is UEFI boot enabled, please tag the image with “UEFI_COMPATIBLE" feature.
gcloud compute images import cs-w10t-201009 --os=windows-10-x64-byol --source-file="gs://templatefolder/win10image.vhd" --project "demo" --network=default --subnet=subnet-daas --guest-os-features="UEFI_COMPATIBLE"
Example:
gcloud compute images import cs-w10t-201009 --os=windows-11-x64-byol --source-file="gs://templatefolder/win11image.vhd" --project "demo" --network=default --subnet=subnet-daas --guest-os-features="UEFI_COMPATIBLE"
Please follow this document for the steps to create a UEFI/Gen2 disk and image : Creating a Windows 10 Generation 2 Disk Image on Hyper-V and Importing it on GCP | Community (workspot.com)
-
Run the modified Script in Cloud Shell. When the script finishes running, you will see the image under Compute Engine > Images
Create Template from Image
The next step is to create a template from the image which we just created, using the build template method.
-
Login to the control portal: https://control.workspot.com
-
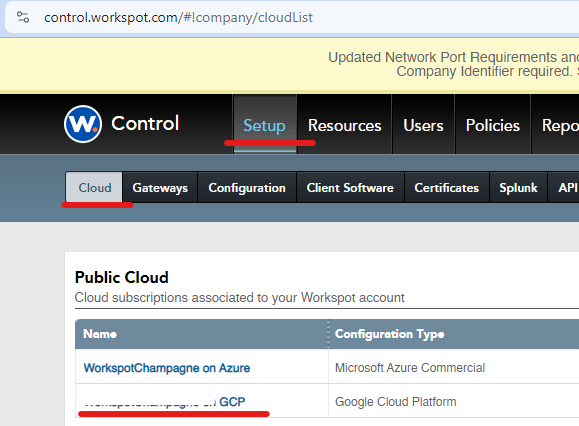
Navigate to Setup > Cloud > Public Cloud – Click and Choose the GCP Cloud Configuration you have created.
-
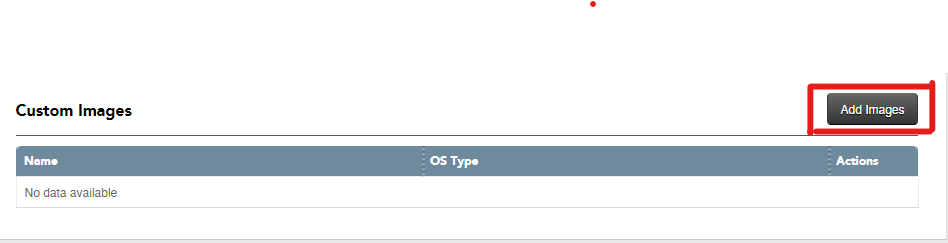
On the new page, in the Custom Images Section, you will find the button “Add Images”. Click on the button.
-
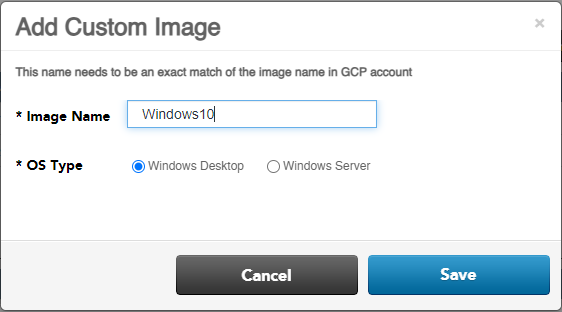
A new Window will pop up – Add Custom Image. In the Image name field choose Windows Desktop radio button, type the name of the image you created in the previous steps. Click on the save button. This will add the image under the Custom Image tab.
-
If you are creating a Cloud App image, make sure you select and choose Windows server radio button.
-
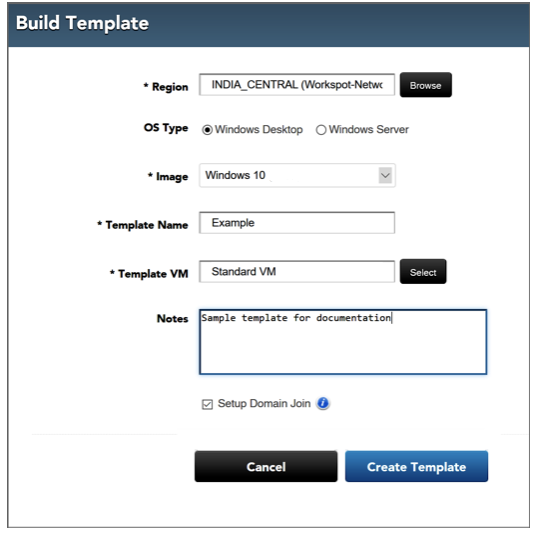
Now, click on the “Build Template” button.

-
Provide Region and zone as your primary region and default zone.
-
OS Type as “Windows Desktop” for Windows 10 and 11, “Windows Server” for cloud app.
-
Choose the Image
-
Provide the name for the template and choose the Template VM type.
-
For deploying machines that are AD joined, Check the box “Setup Domain Join” and click on the “Create Template” button.
-
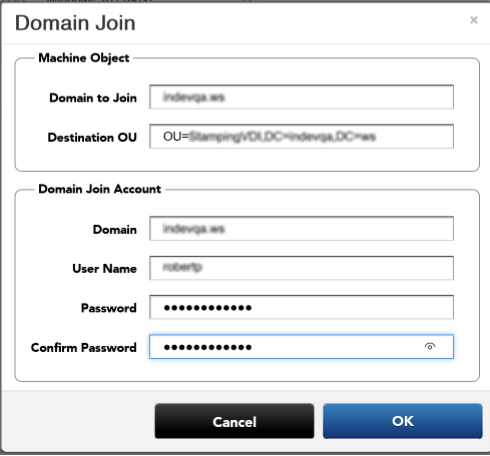
In the next window, you will be asked to join the domain via the “Domain Join” popup. Both the template and any desktops built from it will use these parameters to join the domain. Domain administrator credentials are stored in the VM’s secure wallet. Enter the appropriate domain name, OU string, and the credentials of a domain administrator’s account.
-
This will now initiate the provisioning of the template machine. When provisioning is complete, its status will change to Draft.
-
You should now login to the Utility Server, and from there connect to the newly provisioned Template machine(s) using its private IP. Or you can access the template VM directly through Idp.
-
Make the necessary configurations, like installing any specific software, etc.
-
Additionally, install the Google Guest Environment packages:
-
Following are the main scripts and binaries that are a part of the Windows guest environment package:
-
A Windows agent executable. google-compute-engine-windows.
-
A utilities script for running sysprep on new Windows virtual machines. google-compute-engine-sysprep.
-
Windows exe and cmd files to run startup and shutdown scripts. google-compute-engine-metadata-scripts.
-
A PowerShell module for common functions that is used by other packages. google-compute-engine-Powershell.
-
An automatic updater for core Google packages. google-compute-engine-auto-updater.
-
A Compute Engine VSS agent and provider. google-compute-engine-vss.
-
-
-
If you have imported the image without no-guest-environment flag, you should already find the above scripts and binaries in the image.
-
To confirm if you have the above:
-
Connect to the machine using local admin credentials.
-
Launch Powershell in Admin mode
-
Type the following command – googet installed
-
-
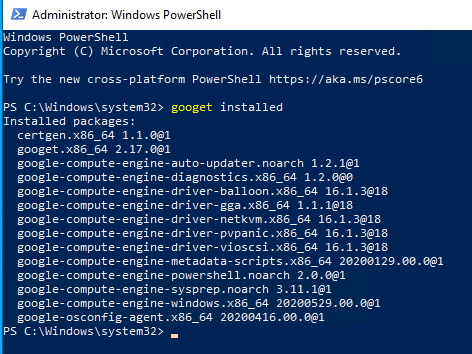
-
If you see an error that Powershell is unable to identify Googet command-let then probably the guest environment is not installed. In this case you should first Install Guest Environment.

-
Install Googet (if not installed already)
-
Copy paste the the below commands in the elevated PowerShell console
[Net.ServicePointManager]::SecurityProtocol = [Net.SecurityProtocolType]::Tls12

Invoke-WebRequest https://github.com/google/googet/releases/download/v2.13.0/googet.exe -OutFile $env:temp\googet.exe

& "$env:temp\googet.exe" -root C:\ProgramData\GooGet -noconfirm install -sources https://packages.cloud.google.com/yuck/repos/google-compute-engine-stable googet

Remove-Item "$env:temp\googet.exe"
-
On installation GooGet adds content to the system environment, launches a new PowerShell console after installation or provide the full path to googet.exe (C:\ProgramData\GooGet\googet.exe).
-
Add the google-compute-engine-stable repo by giving the below command, this must be done in a new console if you just installed GooGet:
googet addrepo google-compute-engine-stable
-
Install the core packages google-compute-engine-windows, google-compute-engine-metadata-scripts,google-compute-engine-sysprep, and google-compute-engine-vss.
googet -noconfirm install google-compute-engine-windows google-compute-engine-sysprep google-compute-engine-metadata-scripts google-compute-engine-vss
-
Additionally you should also install the the Network Drivers for the NIC – NetKVM Drivers and Optionally GGA Display Drivers in case you are enabling “Use Display Adapter” (Refer : https://cloud.google.com/compute/docs/instances/enable-instance-virtual-display) on the VM Edit page on Gcloud console. Give the following command to install the drivers
googet -noconfirm install google-compute-engine-driver-netkvm google-compute-engine-driver-vioscsi google-compute-engine-driver-pvpanic google-osconfig-agent google-compute-engine-driver-balloon google-compute-engine-driver-gga
GCloud Article: https://cloud.google.com/compute/docs/images/install-guest-environment
-
When the template is ready to be published, change the state of the template on Control to “Published”. This action will Shut down the template machine.
-
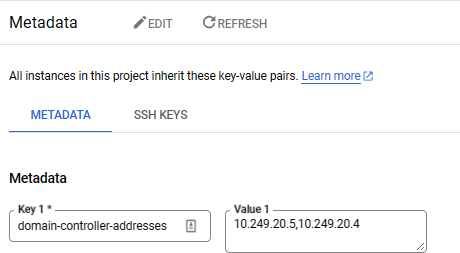
Add DNS Server IPs on Project Metadata:
-
Goto > Compute Engine > Settings > Metadata
-
Add the Key “domain-controller-addresses”, edit the Value and provide the DNS server internal IPs separated by a comma (,).
-
The IPs will be added as DNS server on the OS level whenever the Cloud Desktop boots.
-
-
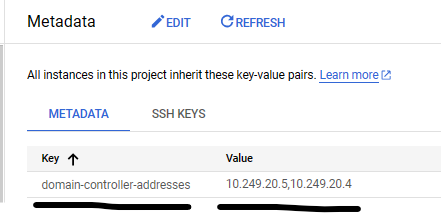
After clicking Save button, the changes should reflect as below:
Related Documents