


Creating a Service Principal in Azure
This article covers adding an Azure Cloud subscription to your Workspot deployment. It is part of the Getting Started with Workspot article series.
Step by Step
Register the Workspot Application
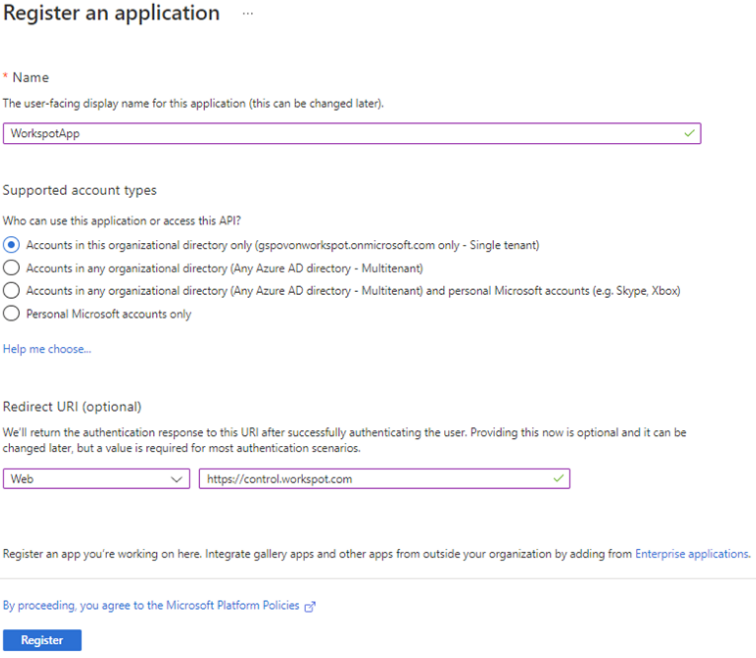
In the Azure Portal under Azure AD select ‘App Registrations’ and click on ‘New Registration’
Fill out the page as shown below and click on register.
The next step is to select the App you just created and then select ‘Certificates & secrets’ to set the key and the key expiration.
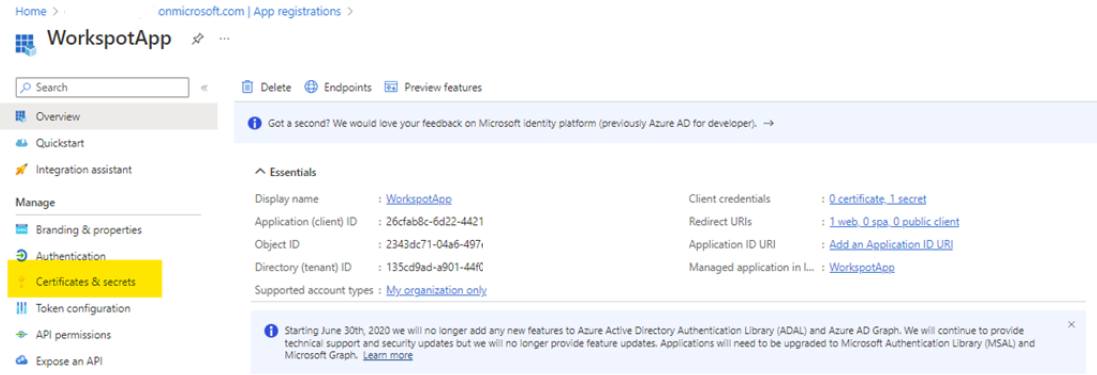

Create the Client secret and set the expiration date and make sure you retrieve the secret key value before leaving the page. This secret key value is referred to as the ‘Application Key’ in Control.
To create the Service Principal in Control you will need the following information.
-
Subscription ID
-
Application ID
-
Application Key
-
Tenant ID
Provide Permissions to the Workspot App
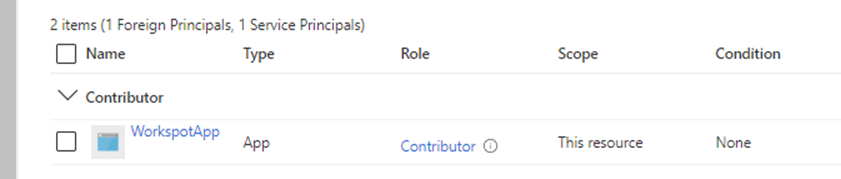
The next step is to go into IAM on the Workspot Subscription to add the Workspot app so that control can connect to the IaaS in the targeted Subscription only. Click on ‘Add’ and search for the WorkspotApp

Provide ‘Contributor’ access to the WorkspotApp – the scope is only that specific Azure Subscription.
Create the Service Principal in Control
Using the information that you gathered when you registered and keyed the WorkspotApp, login to Control and go to Setup…Cloud to complete the Service Principal process.
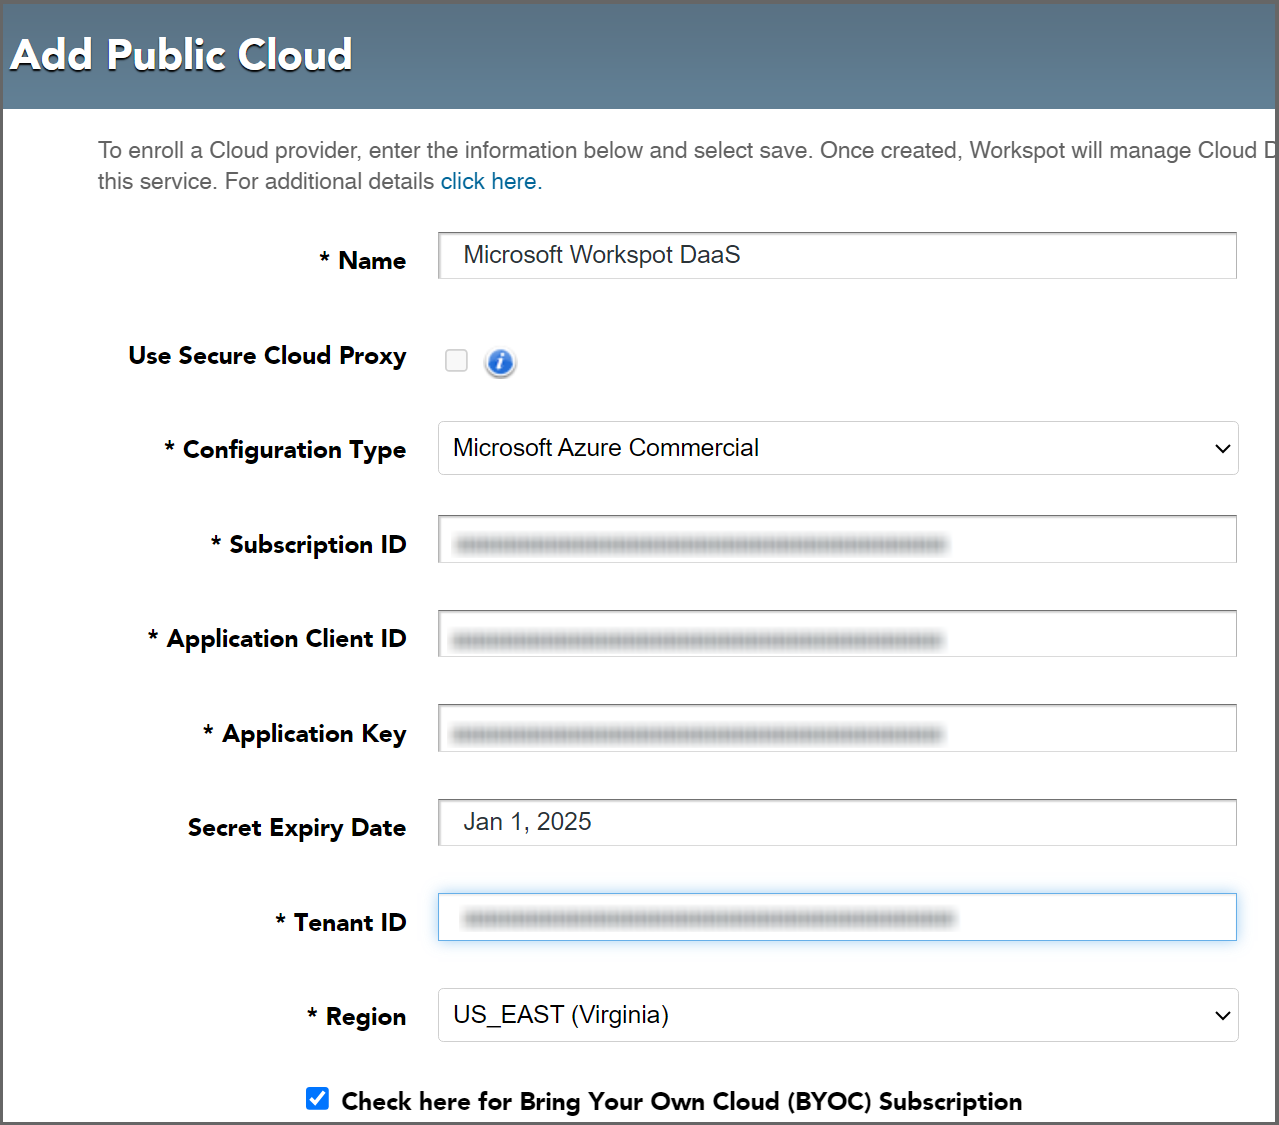
Click on ‘Add Cloud’ and fill in the form using the information you gathered. Provide a ‘Name’ that will identify the Cloud from other clouds you may create later, make sure you select ‘Microsoft Azure Commercial’, enter the Subscription, Application and Tenant info you gathered and select a region. Selecting Region does not restrict Azure regions.
If you fill in the optional ‘Secret Expiry Date’ field, Workspot will remind you when the expiration date is approaching.
Example Screenshot of the ‘Add Cloud’ form.
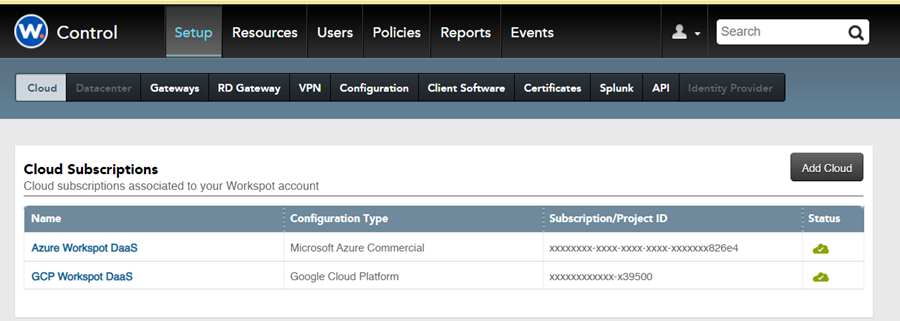
Once you click save you will now see a new Cloud Subscription that Control can now use to provision Cloud PC’s.
Example:
Related Documents
- Next step: Prepare Workspot Landing Zone (Step #5 in Getting Started with Workspot).
- Why Workspot?
- Getting Started with Workspot